Abstract
This article uncovers the various aspects of Agile software development technique and Scrum framework to enable an Agile team/ team member to understand various issues any software development team sails through and how to come over those challenges.
Where Did Agile Come from?
In 1970, Dr. Winston Royce presented a paper entitled “Managing the Development of Large Software Systems” which criticized sequential development.
He asserted that software should not be developed like an automobile on an assembly line, in which each piece is added in sequential phases. In such sequential phases, every phase of the project must be completed before the next phase can begin. Dr. Royce recommended against the phase based approach in which developers first gather all of a project’s requirements, then complete all of its architecture and design, then write all of the code, and so on. Royce specifically objected to this approach due to the lack of communication between the specialized groups that complete each phase of work.
Developing a Solution for Customer
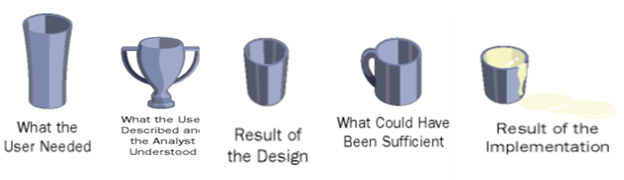
Any software project starts from Gathering Requirements phase and many times what is developed is not exactly what end user wanted, and many software projects fail during implementation.
Value Delivery Impediments
In today’s world teams have huge dependencies on various stakeholders of the project including Users <-> Developers <-> QA <->Operations etc. and it’s proven that we need regular communication and collaboration to deliver the value.
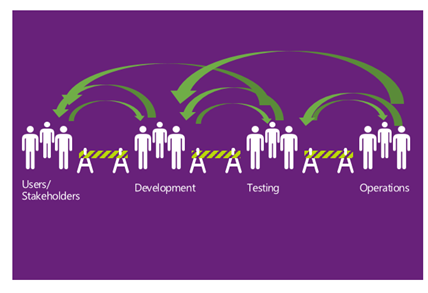
Any communication gap or lack of collaboration between these team(s) or individuals will have impact in following areas

Plan Driven Vs Value Driven Approach
Old school of software development has taught “waterfall” approach of software development. In waterfall approach, one phase’s output becomes input to next phase and those phases are distributed across the project timeline as shown in the image below.

Today’s software development technique is “Iterative“ and “Incremental” I.e. Agile. In Agile, team run through all the phases within a Sprint as briefly shown in the image below.
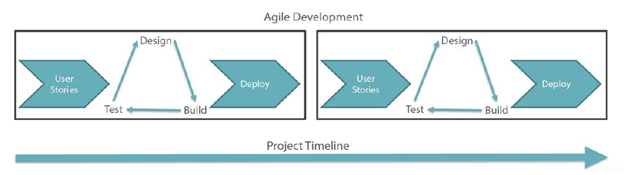
In waterfall, development teams only have one chance to get each aspect of a project right. Whereas in Agile team has better understanding and learning from previous Sprint on what to emphasize upon and what to avoid to reap better results.
Why Agile
- Agile development methodology provides opportunities to assess the direction of a project throughout the development lifecycle.
- This is achieved through regular cadences of work, known as sprints or iterations.
- At the end of which teams must present a potentially shippable product increment. The results of this “inspect-and-adapt” approach to development greatly reduce both development costs and time to market.
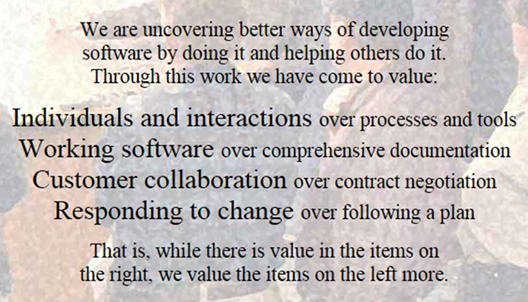
Agile Manifesto
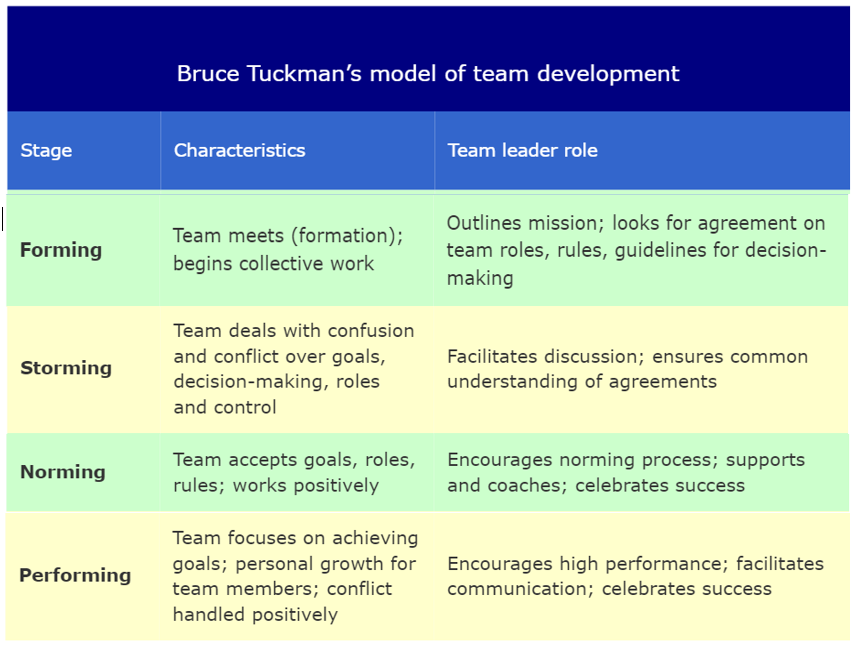
Perfect Agile Team, does it really exist?
Success of any project depends on Team. I.e. it’s critical to have an awesome team to have rocking results. But in reality this doesn’t happen as team consists of individuals with their own attitude, aptitude, work style, ethics, behavior and issues etc.
Bruce Tuckman’s team development model is a perfect example how team can come together and start functioning.
Agile team’s Success heavily depends upon “self-Organized” team.
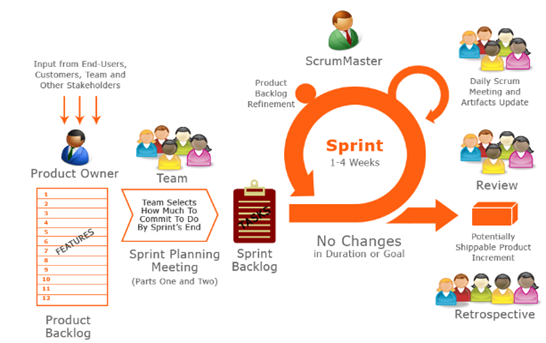
Scrum Process
Sprint Length and Team Size
Sprint is to Run at full speed over a short distance. Ideal Sprint length is 2 weeks. My recommendation is as following and I have experienced that it really works well.
- Ideal Agile teams must be 7 to 9 +/-2 members.
- If you have more candidates in a team, then divide teams and have separate agile teams.
- A representative of each team might want to attend other team’s standup for critical issues, follow-up and announcements etc.
Most wanted thing in Agile – Velocity
Velocity is the account of work team completes and delivers in each sprint. Ideal sprint duration is 2 weeks and highly recommend this to any team.

I have seen better results when team works towards a pre-defined code complete date for instance, today is Tuesday and sprint is for two weeks, team can agree upon a code complete date of Wednesday of 2nd week. I.e. team will try to complete all the work by that day and have it ready for QA.
This just gives a deadline to accomplish the work, however there will be situations where work couldn’t get complete or even rolled over to next sprint and that is fine in some cases.
Here are some of my recommendations:
Give as much time as possible to Developers, SDETs and QA to fulfill their commitment. I.e. less meetings and hindrance.
Have at-least 2-3 sprints worth work well-groomed and available for the team as “ready for development”. Two reasons:
1 – At times for unforeseen reasons or instances a user story may be pulled out of current sprint. In such situations you lose story points you committed to. In such scenarios other US can be delivered.
2- Sometimes team or an individual is able to complete the work early and available to pick more work, in such situation well-groomed loaded backlog can come very handy.
Groom Often (Backlog Grooming)
- Usually Sprint 0 is dedicated for backlog grooming and then team start to deliver in Sprint 1 and onward.
- Considering any Enterprise Line of Business (LOB) application, sprint 0 can’t suffice the entire backlog groomed at once.
- Hence, team must regularly have backlog grooming in small chunks of time instead of lengthy full day meetings.
Ideally, grooming is a lengthy process and hence groom in short chunks and team lead can be present in the regular or small grooming sessions with PO or business and team can continue to focus on their work. However, team must be present at Sprint Planning time.
Brainstorm Together (Sprint Planning)
- Everyone is invited. Many teams ask only Dev’s to attend and excuse the QA team members.
- Understand the problem 1st.
- Ask Questions and clarifications.
- “Well defined” Acceptance criteria is a must.
- Confirm that User Story is ready for development.
- Nothing should fall from the cracks, document all within the User Story.
Daily Status Check
Just three things, no more; no less
- What have you done since yesterday?
- What are you planning to do today?
- Do you have any blockers preventing you from accomplishing your goal?
I recommend, that if you have to discuss something related to a User Story or bug or some reported a status on something etc. then “Post Scrum” that. I.e. discuss that when team has given the status and now you can drill into the detailed discussion.
Many times Dev’s start going into technical details of the issue, design of solution, architecture, code review comment details etc. during their status. This is not right way of doing it. Just Post Scrum all that; if you have to discuss anything other than those three absolute must.
I am Blocked
It’s is obvious that someone at some time is blocked on something. You can help, by asking just:
- Really
- On what
- What is the issue
- Who is POC (Point of Contact)
- What is ETA (Estimated Time of Arrival) I.e. delivering solution to you.
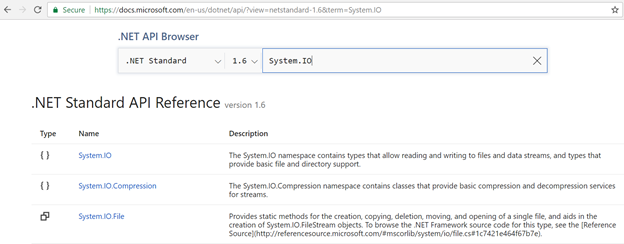
I will give you a scenario, let’s say I join a team which works on some third part control library and my license of that product is pending or not yet processed. Am I blocked. Well in a way; yes, but I can use trial version up to 30 days and when my license information come I can punch those.
Also, many times we just tell other team that we are blocked on something and we are expecting the endpoint or JSON format etc. but we don’t always ask what is ETA and convey the timelines we have to adhere. If this has any impact on your team’s deliverable than you need to re-prioritize, escalate etc. so either that work is delivered to you on time or that user story is pushed to next sprint and you pick next item on Stack rank (priority) from the Product backlog.
Scrum Master must help you to get unblocked.
Is there time to Think?
Many people and teams think that Agile has no time for following:
- Researching a solution
- Brain storming on the solution architecture.
- Share your thought process, design, approach with the architects, PO etc. to get the insight.
Well, there is and it’s called “Spike”. In agile software development, a “Spike” is a user story that cannot be estimated until a development team runs a time boxed investigation. The output of a spike story is an estimate for the original story.
Some examples of spikes:
1- Discussing authentication mechanism and partner team’s flexibility to apply / accept those changes.
2- Discovering or researching for an off the shelf solution work flow solution.
Technical Debt
Every team has it, generated it, accumulate it; not a problem. Just make sure you pay it off.
Technical debt is a terms which is used for the work which team or an individual didn’t prioritize upon while pushing the deliverable, and require improvements.
- First and foremost, poor coding style and standards.
- No unit test cases.
- Not following OO design principles and developing long monolithic classes and code libraries.
- Not envisioning on proper candidate technology, architecture or approach and then hitting a wall. I.e. when application is little bit mature you start to feel the hit on User experience, performance, scalability, code maintenance etc.
- Code files has a lot of comments. I.e. code is completely documented. Many developers write few lines of comment for each line of code.
- Code is not self-documented.
- Magic strings (hard coded path and endpoints etc. in the code)
- Dead code in project. You must have seen or left some commented code in various code files. This is dead code and needs to be cleaned up.
Read my detailed article on Technical Debt
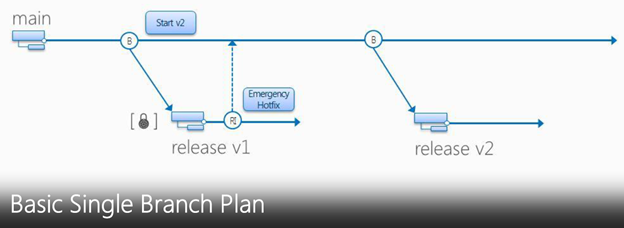
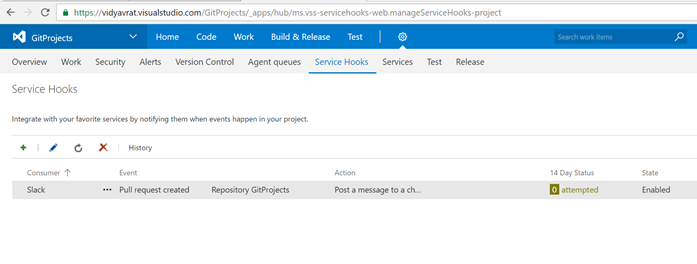
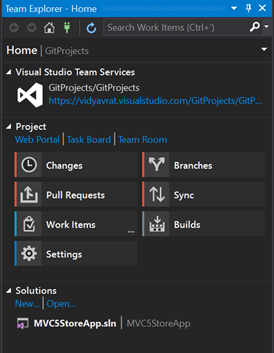
Branching and Merging
Branching enables parallel development and delivery by providing each development activity a self-contained snapshot of needed sources, tools, external dependencies and process automation.
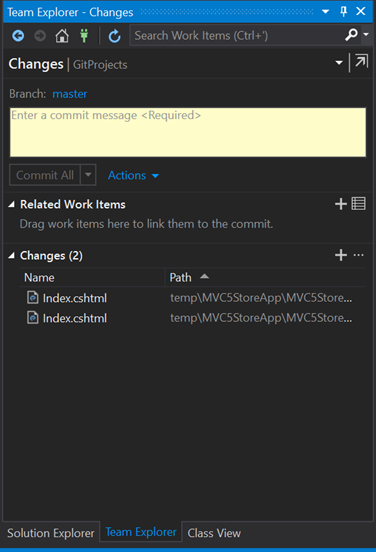
Continuous check-ins pollute the branch. Have a separate Release branch per Release.
Basic Dual Branch is an Ideal branch plan, have a Main, spin a Dev branch for development and have RI (Reverse Integration) and FI (Forward Integration) to merge changes between Child and Parent branch respectively.
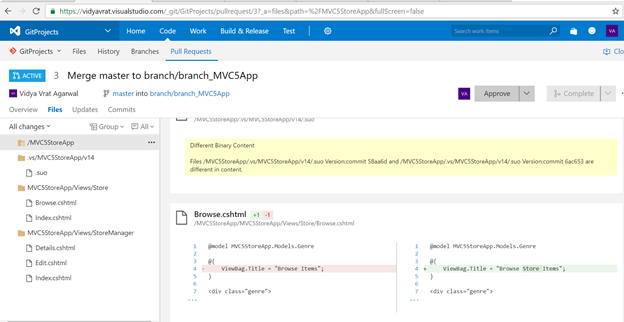
When you are ready to deliver the shippable product at sprint completion then spin a Release Branch and deliver the product out of that.

Feature Branch Plan is slightly complex and requires more merge efforts but at the same time it give entire isolation of work being done in a feature branch for entire time; until it’s ready for merge to Dev branch. One major issue with this plan is that your feature branch will have old and stale code and when you will Get Latest / Pull from the changes then you will get some conflicts etc.
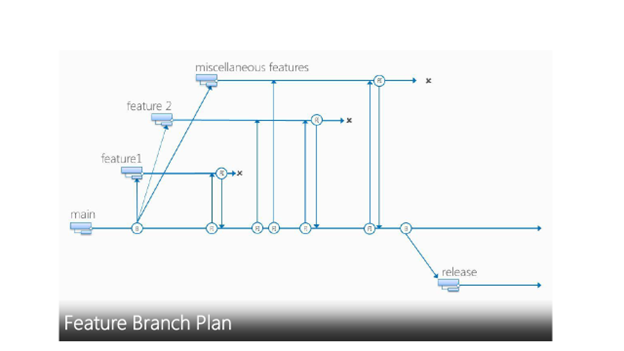
Just saying
“Save your creativity for your product… not the branch plan.”
“Your branch distance from main is equal to your level of insanity”
Unit Testing
Many teams don’t invest in Unit Testing. For any Agile Team Unit Test is the most critical thing and team must continue to increase the code coverage of the tests. Even based on Test Triangle as shown in the image below, Unit Test has the larger scope in Software Testing.

Read my detailed article on NUnit with Visual Studio
Read my article on Visual Studio and .NET’s Unit Test Framework
Read my article on Inside Out: TDD using C#
Benefits of Unit Testing
- Unit Testing gives an opportunity to think as User of your code, instead of an implementer of the production code.
- Reduce bugs by identifying all the use case scenarios to reflect intent (end user’s mindset, business needs, expected functionality and business validations etc.)
- Less-n-less time on debugging.
- Avoid collateral damage. I.e. a fix in one area may break functionality in another possibly
related/unrelated area.
- Helps you achieve YAGNI– You Aren’t Gonna Need It. I.e. saves you from writing code which you
don’t need
Tips for System Test
- Must know how much to test, drive your Test cases from Acceptance criteria.
- Avoid duplicate test steps.
- Make sure that all your Test Cases are Mapped to Acceptance Criteria.
- Try to combine similar behaviors in a single test case.
- Do not go above and beyond to identify every corner case or hack the system. I.e. above a beyond the acceptance criteria. I know this is tricky and someone may want to debate on it. I didn’t mean to say that don’t test any areas of application which might have direct impact of a User Story or what not. But there is always a fine line on what to test and what not.
- Time box for ad-hoc testing. I.e. in each sprint time-box some time
Continuous Integration (CI)
- An important part of any software development process is getting reliable builds of the software. – Martin Fowler
- Continuous Integration (CI) is the strategy and practice of making sure that changes to a software project’s code base are successfully built, tested, reported on, and rapidly made available to all parties after they are introduced.

Advantages of CI
- Increase ROI (Return on Investment).
- Guarantees successfully compiled software.
- Visible progress reporting and problem tracking.
- Low TCO (Total Cost of Ownership).
- Improve development standards, consistencies and accountability.
- Rapidly identify bugs, who created them, and where it is.
- Quickly push high quality change updates to testing.
- Reduce development integration effort.
- Increase amount of quality code.
Successful Build
An aggressive goal for a successful build would include:
- All the latest sources are checked out of the configuration management system.
- Every file is compiled from scratch.
- The resulting object files are linked and deployed for execution.
- The system is started and a suite of tests is run against the system.
- If all of the above execute without error or human intervention and every test passes, that is a successful build.
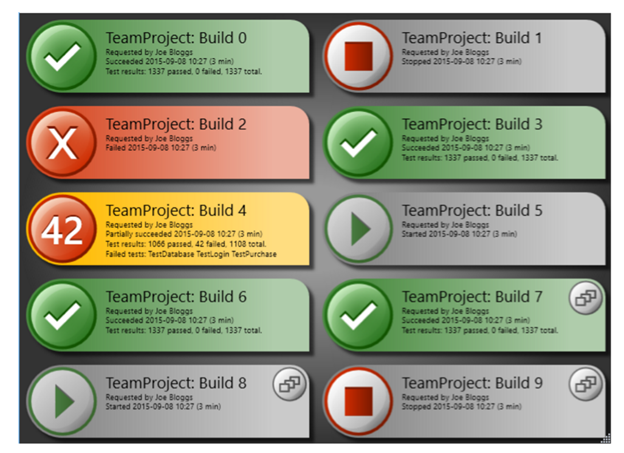
Let the Team see what is happening
- Must have Gated builds and nightly builds to ensure value delivery of the functionality.
You can use this build monitoring tool from https://teambuildscreen.codeplex.com/
Continuous Delivery (CD)
CI mainly focuses on development teams. The output of the CI system normally forms the input to the manual testing process and to the rest of the release process.
You’re doing continuous delivery when:
- Your software is deployable throughout its lifecycle
- Your team prioritizes keeping the software deployable over working on new features
- You can perform push-button deployments of any version of the software to any environment on demand


 Abstract
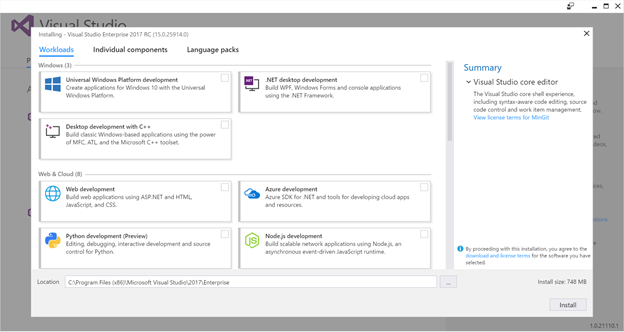
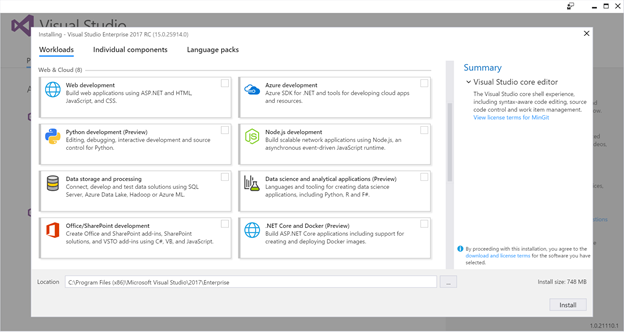
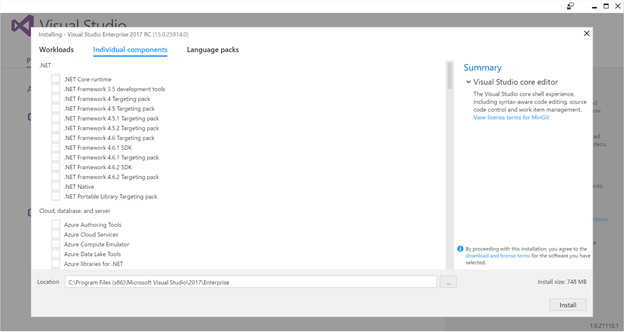
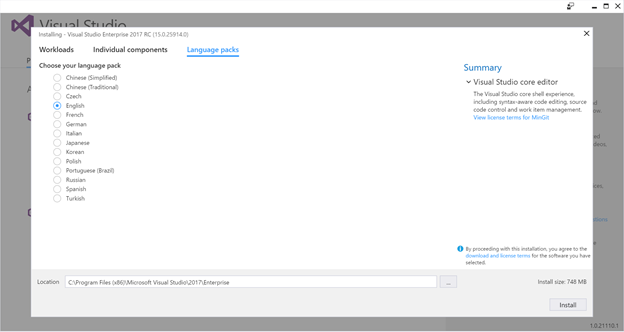
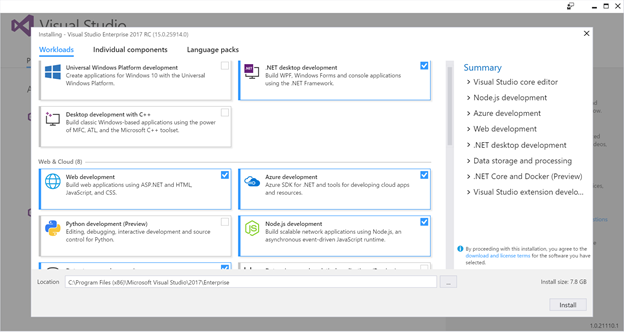
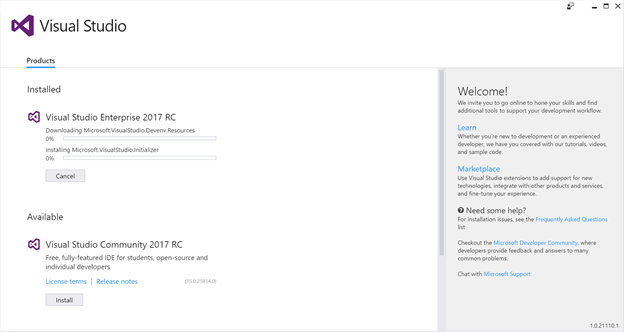
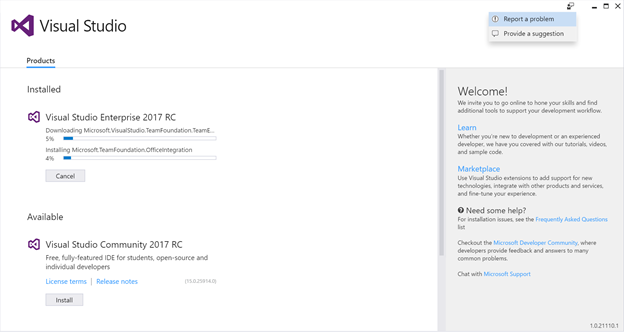
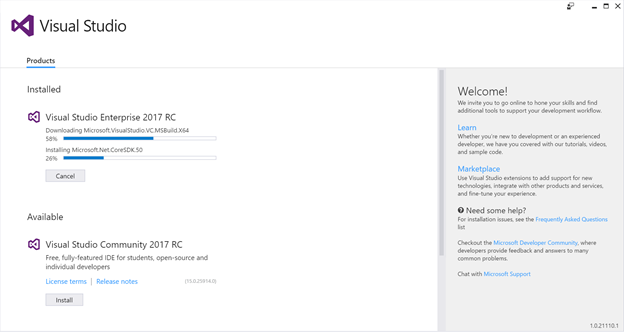
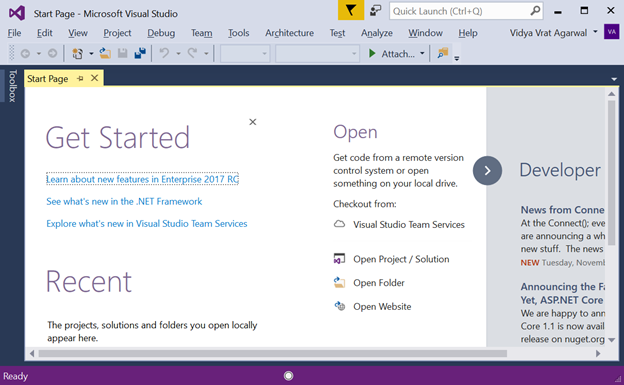 2.Go to Help menu and click on “About Microsoft Visual Studio”
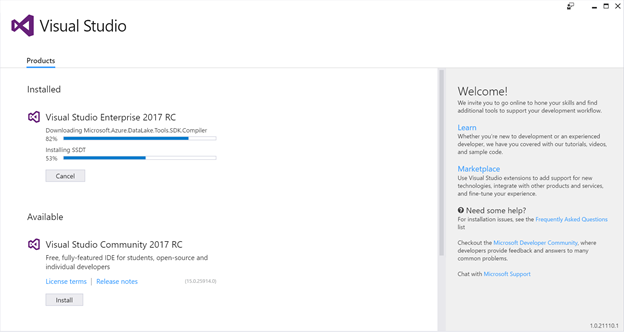
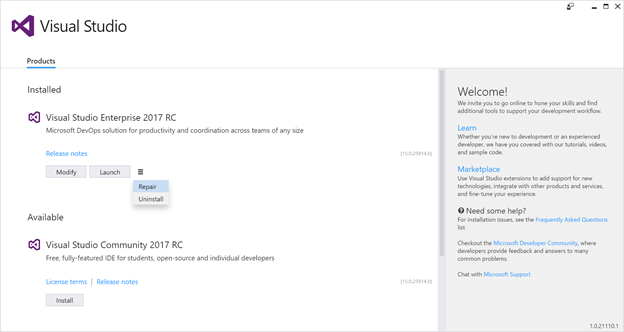
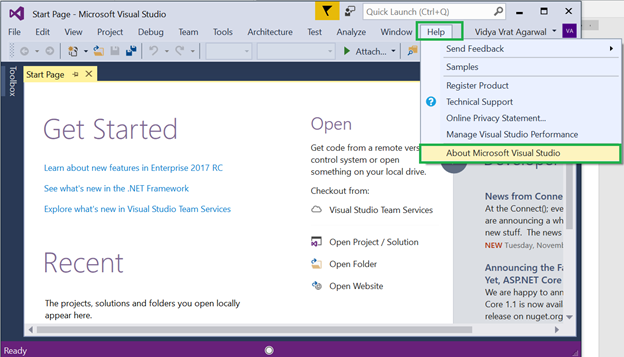 3.From the opened dialog as shown below, click on “License Status”
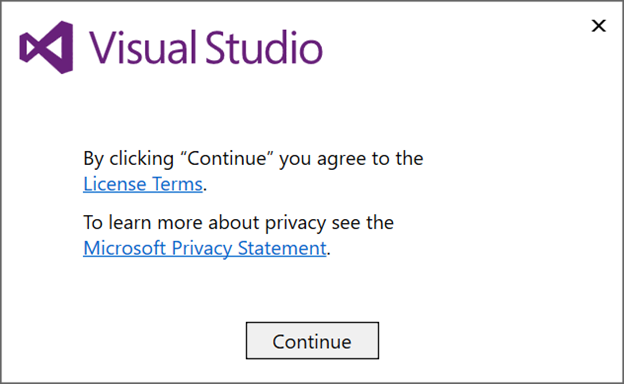
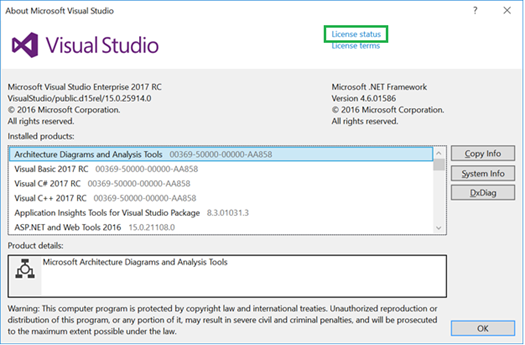 4.Now you will see a dialog as shown below and you can clearly see the final date of the end of Free trial.


 I am a hands-on architect with proven 19+ years of experience in architecting, designing, and developing distributed software solutions for large enterprises. At Microsoft, as a Principal Software Engineering Manager, I own the Platform team. I see software development as a craft, and I am a big proponent of software architecture and clean code discipline-n-practices. I like to see the bigger picture and make a broader impact. I was also a Microsoft MVP for past 7 years on Visual Studio and Dev Technologies I can be reached at vidya_mct@yahoo.com or twitter @dotnetauthor